I’ve spent years perfecting my waffle technique, and I can tell you that most people make one critical mistake that ruins their chances of achieving that perfect crispy-outside, fluffy-inside texture. You might think it’s about the batter consistency or cooking temperature, but there’s actually a simple step that transforms ordinary waffles into restaurant-quality masterpieces. Once you understand this game-changing method, you’ll never go back to flat, dense waffles again.
Recipe
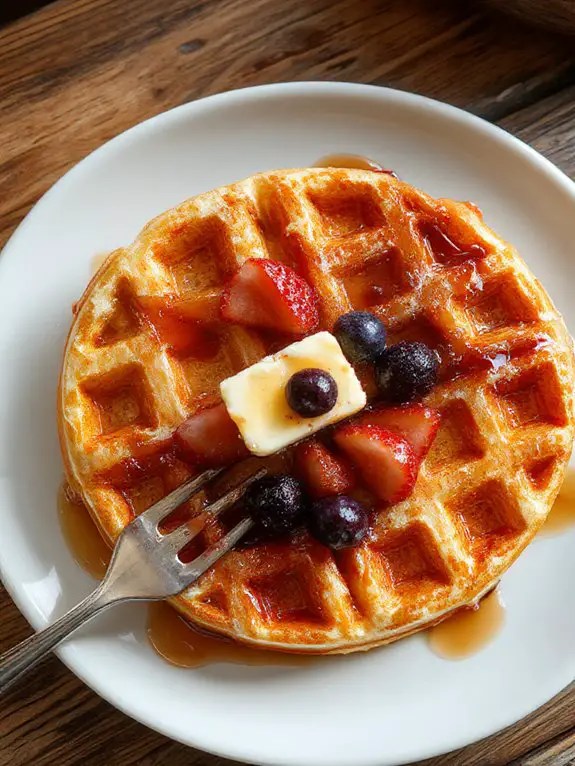
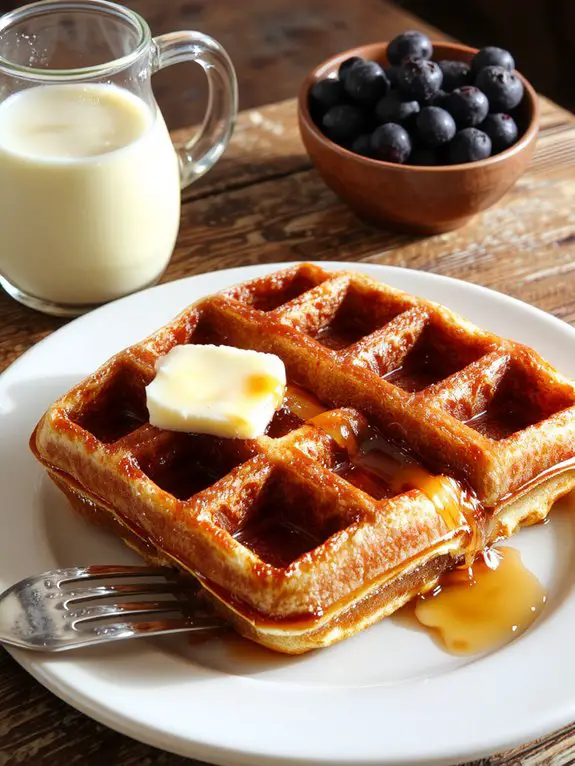
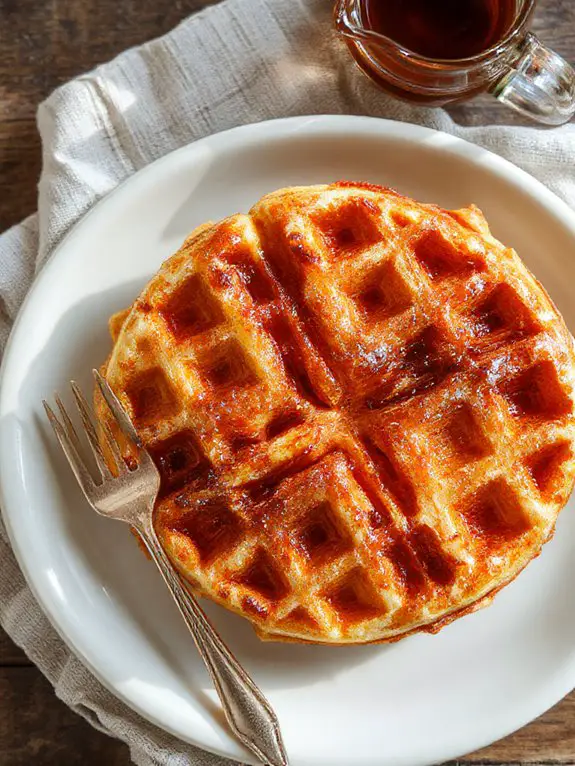
I’m going to be completely honest with you—after testing countless waffle recipes over the years, this is the one that finally made me stop searching. These aren’t just any waffles; they’re the kind that get golden-brown and impossibly crispy on the outside while staying light and fluffy on the inside, with pockets so perfect they practically beg to be filled with maple syrup.
What makes them so special? It’s all about the technique—separating the eggs and whipping those whites to soft peaks creates an airy batter that transforms into pure magic once it hits the waffle iron. The secret ingredient that took me forever to figure out? A touch of vanilla and a hint of melted butter folded in at just the right moment.
My family has declared these the official weekend breakfast, and honestly, I’ve stopped trying other recipes because why mess with perfection? The smell alone—that sweet, buttery aroma wafting through the kitchen—is enough to get everyone out of bed and gathered around the table. Trust me, once you master this recipe, you’ll understand why I’m so confident these will become your go-to waffles too.
Ingredients
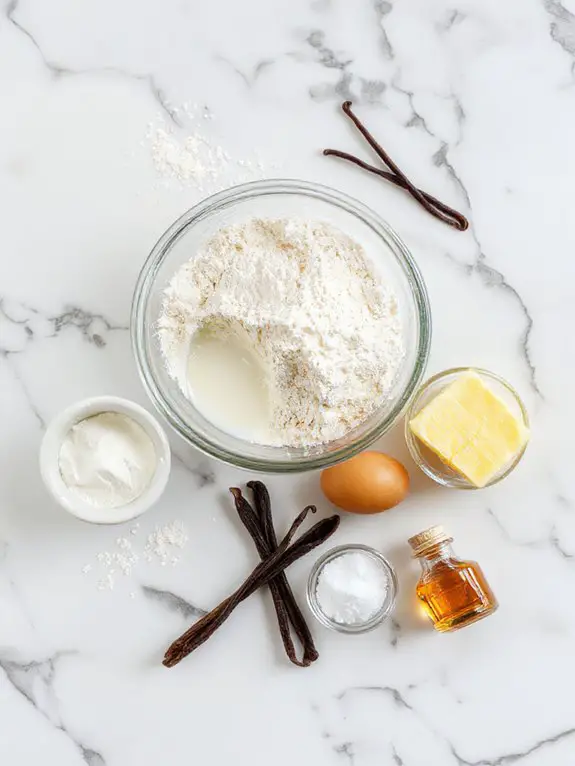
The secret to bakery-quality waffles lies in understanding your ingredients—each one plays a pivotal role in creating that perfect crispy exterior and fluffy interior. Fresh ingredients make all the difference here, and while some substitutions work beautifully, certain elements are absolutely non-negotiable for waffle perfection.
For the Base:
- 2 cups all-purpose flour – The foundation that gives structure; don’t substitute with cake flour or you’ll lose that essential chewiness
- 2 tablespoons granulated sugar – Just enough sweetness to enhance browning without making them dessert-like
- 2 teaspoons baking powder – This is your lift! Fresh baking powder (under 6 months old) is essential for those airy pockets
- 1/2 teaspoon salt – Enhances every other flavor and balances the sweetness
For Richness & Texture:
- 2 large eggs, separated – Here’s the game-changer! Separating eggs and whipping the whites creates unmatched fluffiness
- 1 3/4 cups whole milk – Full-fat milk adds richness; 2% works but whole milk is worth it (buttermilk works too for tanginess!)
- 1/2 cup melted butter – Butter beats oil every time for flavor, but vegetable oil works if you’re out
- 1 teaspoon vanilla extract – Pure vanilla only—imitation tastes flat in waffles
The Secret Weapon:
• 2 tablespoons cornstarch**** – This is my insider trick! Cornstarch creates extra crispiness that stays crispy longer
Optional Upgrades:
- 1 tablespoon malted milk powder – For that professional diner flavor
- Zest of 1 lemon – Brightens everything and makes them taste more complex
How to Make the Best Classic Buttermilk Belgian Waffles
• Preheat your waffle iron to medium-high heat and lightly grease with cooking spray or butter.
Getting your waffle iron properly heated before you start mixing is essential for that perfect golden crust. Most waffle irons need 5-10 minutes to reach ideal temperature. The light greasing prevents sticking, but don’t overdo it—too much fat can make your waffles greasy rather than crispy.
• In a large mixing bowl, whisk together flour, sugar, baking powder, baking soda, and salt until well combined.
This step guarantees all your dry ingredients are evenly distributed before adding any liquids. Whisking also aerates the flour slightly, contributing to lighter waffles. Make sure there are no lumps of baking powder or pockets of salt—uneven distribution leads to inconsistent flavor and texture.
• Create a well in the center of the dry ingredients and set aside.
Making this crater-like indentation gives you a designated spot for your wet ingredients, which helps control mixing and prevents overmixing. This simple technique is your secret weapon against tough, dense waffles that come from working the batter too aggressively.
• In a separate bowl, whisk together buttermilk, melted butter, eggs, and vanilla extract until smooth.
Combining wet ingredients separately guarantees everything blends evenly before meeting the flour. Make sure your melted butter has cooled slightly—if it’s too hot, it’ll scramble the eggs. The buttermilk’s acidity is what makes these waffles incredibly tender and gives them that classic tangy flavor.
• Pour the wet ingredients into the well of dry ingredients and gently fold together with a rubber spatula.
This is where patience pays off tremendously. Mix just until the flour disappears and you can’t see any dry streaks—the batter should still look slightly lumpy. Overmixing develops the gluten too much, resulting in tough, chewy waffles instead of light, fluffy ones.
• Let the batter rest for 2-3 minutes while your waffle iron finishes heating.
This brief rest allows the flour to fully hydrate and the leavening agents to start working. You’ll notice the batter thickens slightly and may even start to bubble a bit—this is exactly what you want for maximum fluffiness.
• Pour the recommended amount of batter into the center of the waffle iron (usually ¾ to 1 cup, depending on your iron size).
Check your waffle iron’s manual for the exact amount, but generally, you want enough batter to fill about 2/3 of the surface when you close the lid. Too little batter creates thin, crispy waffles; too much causes messy overflow and uneven cooking.
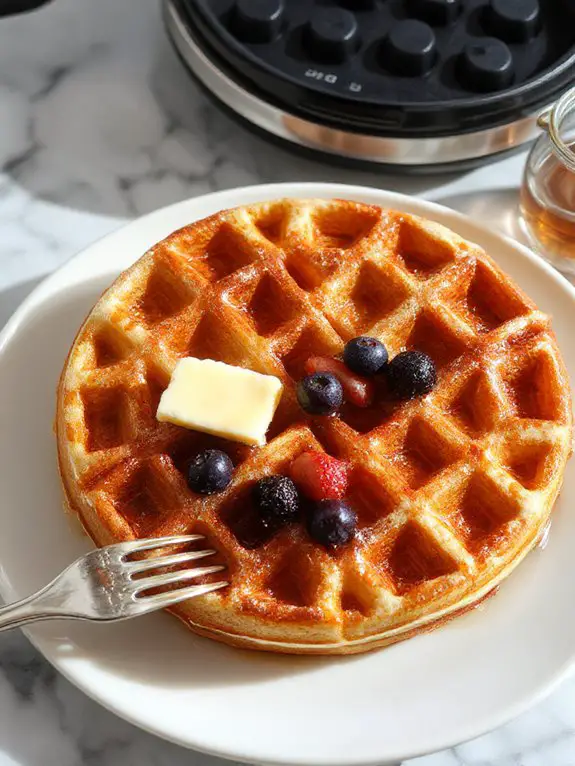
• Close the lid and cook for 3-5 minutes, or until the steam stops emerging and the waffle is golden brown.
Resist the urge to peek too early—opening the lid prematurely can cause the waffle to stick or tear. Most waffle irons have indicator lights, but the steam test is more reliable. When steam production dramatically decreases, your waffle is likely done.
• Carefully remove the waffle using a fork or tongs, never a metal utensil that could scratch your waffle iron.
Gently lift from one corner first to check if it releases easily. If there’s resistance, give it another 30 seconds. A properly cooked waffle should lift out cleanly with a beautiful golden-brown color and crispy exterior.
• Serve immediately for maximum crispiness, or keep warm in a 200°F oven on a wire rack for up to 15 minutes.
Fresh waffles are always best, but if you’re making multiple batches, the low oven temperature maintains crispiness without overcooking. Placing them on a wire rack instead of a plate prevents the bottom from getting soggy from trapped steam.
Chef Tips
Making perfect waffles isn’t just about following the recipe—it’s about understanding the little tricks that separate good waffles from extraordinary ones. I’ve discovered that mastering cooking techniques like proper batter consistency and iron temperature control makes all the difference.
Additionally, experimenting with creative flavor pairings elevates your waffles from breakfast staple to gourmet experience.
Nutrition
Waffles provide a satisfying breakfast option that can be part of a balanced diet when enjoyed in moderation. The nutritional content will vary depending on the specific ingredients and serving size used in your recipe.
| Nutrient | Amount per serving (1 waffle, 7-inch diameter) |
|---|---|
| Calories | 218 |
| Total Fat | 10.6g |
| Saturated Fat | 2.3g |
| Cholesterol | 52mg |
| Sodium | 383mg |
| Total Carbohydrates | 25.7g |
| Dietary Fiber | 0.9g |
| Sugars | 1.5g |
| Protein | 5.9g |
| Calcium | 119mg |
| Iron | 1.7mg |
| Potassium | 119mg |
| Vitamin A | 84 IU |
| Thiamin | 0.2mg |
| Riboflavin | 0.2mg |
| Niacin | 1.9mg |
What You’ll Love About This Recipe

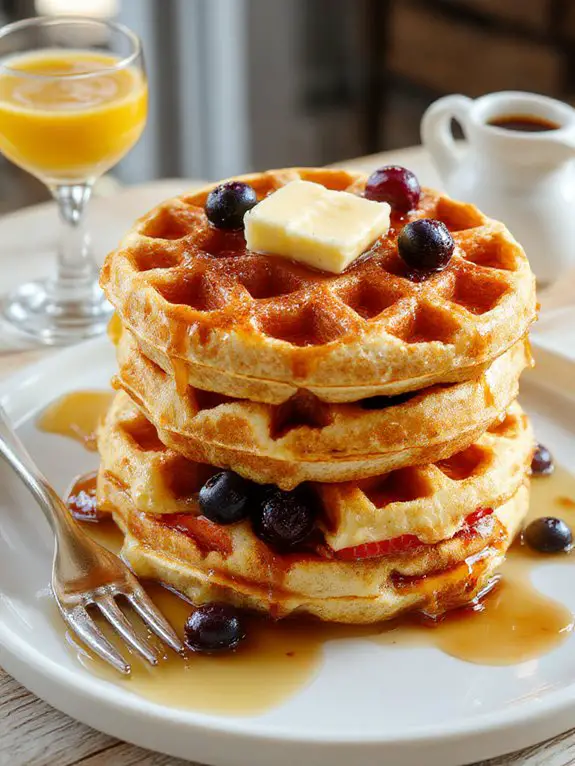
This waffle recipe will become your new weekend tradition, bringing together crispy edges and fluffy centers that make breakfast feel like a celebration. You’ll find yourself making these golden beauties again and again, because they’re just that good and surprisingly simple to master.
Perfect texture every time – These waffles come out with that ideal contrast of a golden, crispy exterior that gives way to a tender, airy inside that soaks up syrup beautifully.
Quick and easy preparation – With just a few simple steps and basic ingredients you probably already have in your pantry, you can have fresh, homemade waffles ready in under 30 minutes.
Freezer-friendly for busy mornings – Make a big batch on Sunday, pop the extras in the freezer, and you’ll have restaurant-quality waffles ready to toast throughout the week for those rushed school mornings.
Recipe Card
This classic waffle recipe creates perfectly crispy-on-the-outside, fluffy-on-the-inside waffles that are ideal for weekend breakfasts or special occasions. With simple pantry ingredients and straightforward steps, you can achieve bakery-quality results in your own kitchen.
Ingredients:
- 2 cups all-purpose flour
- 2 tablespoons granulated sugar
- 1 tablespoon baking powder
- 1/2 teaspoon salt
- 2 large eggs
- 1 3/4 cups whole milk
- 1/2 cup unsalted butter, melted
- 1 teaspoon vanilla extract
Instructions:
- Preheat your waffle iron according to manufacturer’s instructions.
- In a large bowl, whisk together flour, sugar, baking powder, and salt.
- In a separate bowl, beat eggs, then add milk, melted butter, and vanilla extract.
- Pour the wet ingredients into the dry ingredients and stir until just combined. Don’t overmix; lumps are okay.
- Lightly grease the waffle iron with cooking spray or butter.
- Pour batter onto the preheated waffle iron, using about 1/2 to 3/4 cup per waffle depending on your iron size.
- Cook according to your waffle iron’s instructions, typically 3-5 minutes until golden brown and crispy.
- Serve immediately while hot.
Notes:
Do not overmix the batter as this will result in tough waffles. The batter should be slightly lumpy. For extra crispy waffles, separate the eggs and whip the whites to soft peaks, then fold them in last.
Leftover waffles can be frozen and reheated in a toaster.
Equipment:
Waffle iron, large mixing bowls, whisk, measuring cups and spoons
Time:
Prep time: 10 minutes
Cooking time: 15 minutes
Cuisine:
American
Serving:
Makes 6-8 waffles