I’ve spent countless hours perfecting this homemade white bread recipe, and I can confidently say it’s transformed my kitchen routine. There’s something deeply satisfying about creating a loaf from just five simple ingredients that rivals anything you’ll find at the bakery. The secret lies in understanding how each component works together, and once you master this fundamental technique, you’ll never look at store-bought bread the same way again.
Recipe
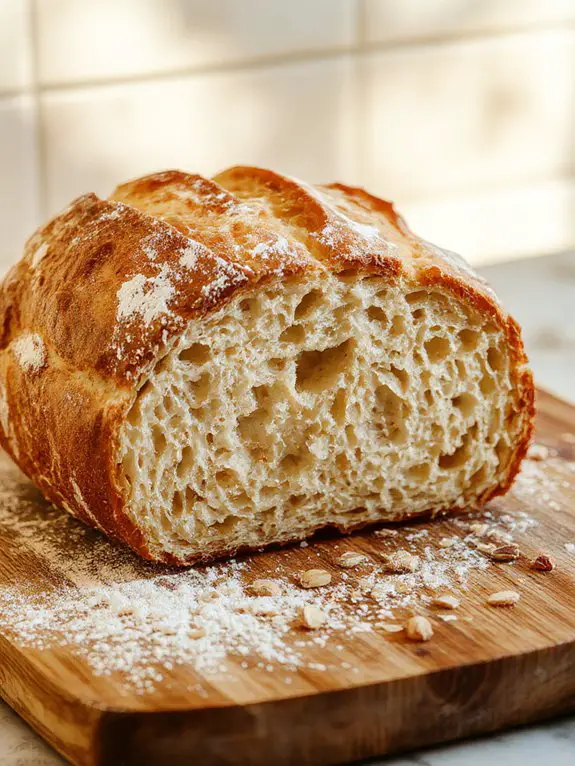
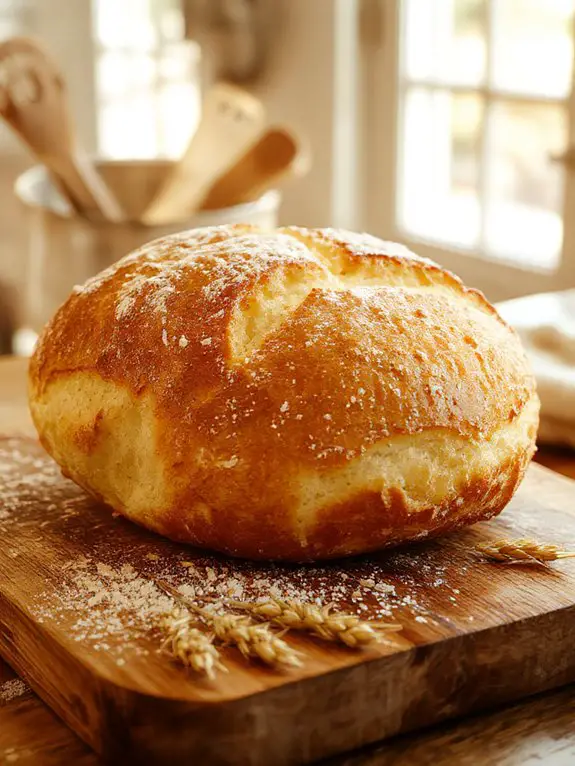
I’m going to tell you right now—this is hands down the best homemade bread recipe you’ll ever make, and I’ve spent years perfecting every single detail to guarantee that bold claim. What makes this bread absolutely extraordinary is the combination of high-quality bread flour and a touch of honey that creates the most incredible golden crust while keeping the inside impossibly soft and pillowy.
I learned this technique from my grandmother who baked fresh loaves every Sunday, and she always said the secret wasn’t just in the ingredients, but in letting the dough develop slowly to build those deep, yeasty flavors that make your kitchen smell like a European bakery.
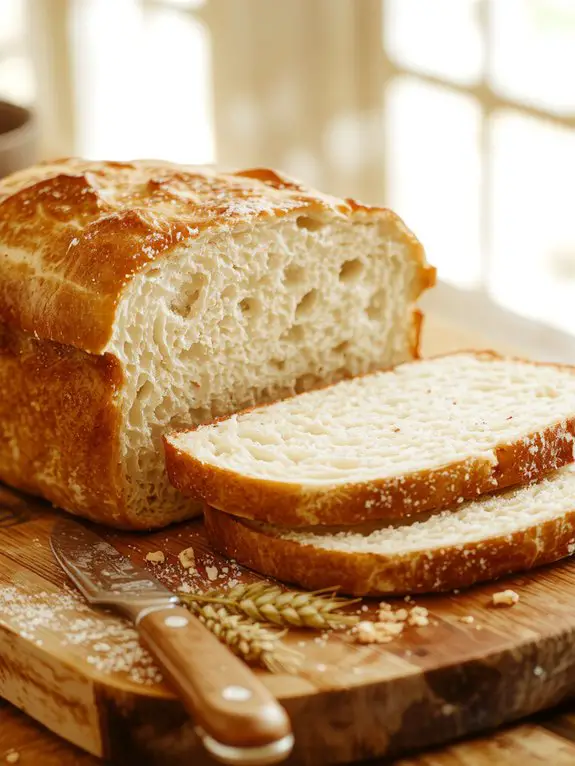
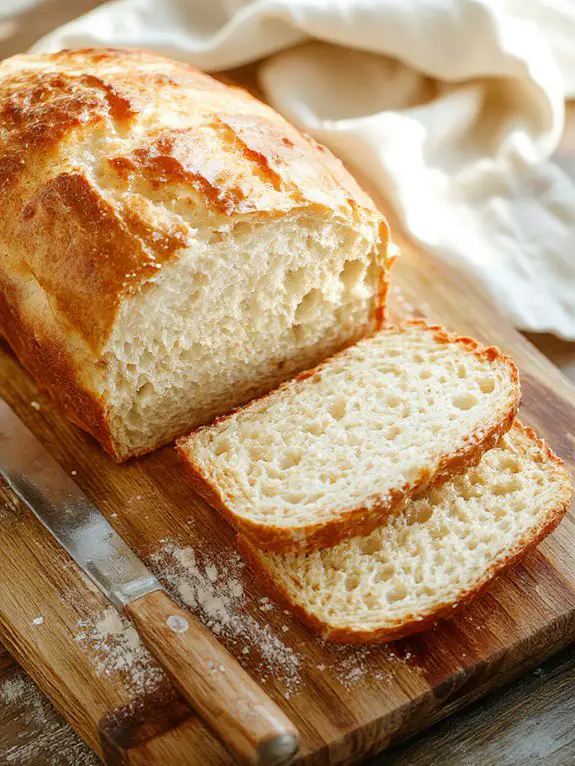
When you slice into this bread, you’ll hear that perfect crispy crunch of the crust giving way to reveal an airy, tender crumb with just the right amount of chew—it’s the kind of bread that’s amazing toasted with butter for breakfast, perfect for sandwiches at lunch, and absolutely divine for sopping up every last bit of sauce at dinner.
The best part is that even if you’ve never made bread before, this recipe is incredibly forgiving and practically foolproof, so you can feel confident knowing that in just a few hours, you’ll be pulling a gorgeous, golden loaf from your oven that rivals anything you’d find at an artisan bakery.
Ingredients
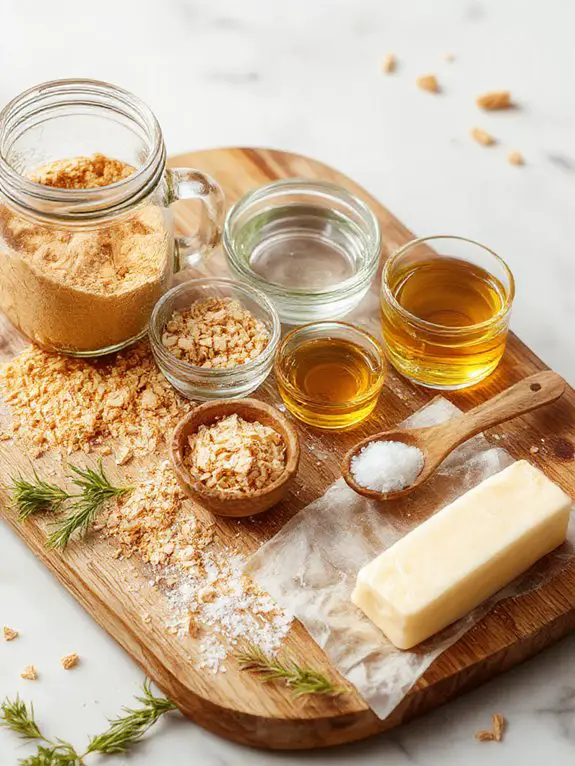
Making exceptional bread starts with understanding your ingredients—each one plays a pivotal role in creating that perfect crust and tender crumb. Here’s the insider scoop: the quality of your flour will make or break your loaf, and the temperature of your water can mean the difference between bread that rises beautifully and one that falls flat.
Don’t worry if your pantry isn’t perfectly stocked—I’ll share some game-changing substitutions that work like magic.
For the Perfect Loaf:
- Bread flour (3-4 cups) – This is your non-negotiable foundation! The higher protein content creates stronger gluten networks for that coveted chewy texture. All-purpose flour works in a pinch, but bread flour gives you bakery-quality results.
- Active dry yeast (1 packet/2¼ teaspoons) – Fresh yeast is incredible if you can find it, but active dry is reliable and shelf-stable. Instant yeast works too—just skip the proofing step and mix directly into flour.
- Warm water (1-1¼ cups) – Temperature is EVERYTHING here! Aim for 105-110°F—too hot kills the yeast, too cool won’t activate it. No thermometer? It should feel like a comfortable bath on your wrist.
- Salt (1-2 teaspoons) – Never skip this! Salt doesn’t just add flavor—it strengthens gluten and controls yeast activity. Sea salt or kosher salt work beautifully.
- Sugar or honey (1 tablespoon) – This feeds the yeast for better rise and adds a subtle sweetness. Maple syrup or even a mashed banana works as natural alternatives.
- Olive oil or melted butter (2 tablespoons) – Creates a tender crumb and extends shelf life. Coconut oil (melted) makes an excellent dairy-free swap that adds richness.
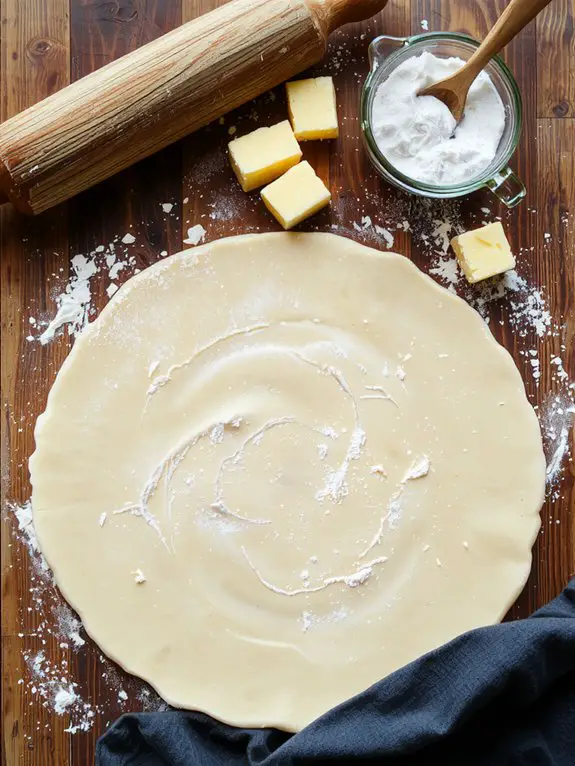
How to Make the Best Simple Homemade White Bread
Mix the dough ingredients in a large bowl, starting with warm water (around 110°F) and active dry yeast.
Let the yeast bloom for about 5 minutes until it becomes foamy and bubbly—this tells you your yeast is alive and ready to work. If it doesn’t foam, your yeast might be expired or your water too hot (which kills yeast) or too cold (which won’t activate it).
Add the sugar, salt, and oil to the yeast mixture, then gradually incorporate the flour one cup at a time until a shaggy dough forms.
Knead the dough on a lightly floured surface for 8-10 minutes until smooth and elastic.
This is where the magic happens—kneading develops the gluten strands that give bread its structure and chewiness. You’ll know you’re done when the dough feels smooth, springs back when poked, and can stretch thin enough to see light through it (the “windowpane test”).
If the dough feels too sticky, add flour one tablespoon at a time, but resist over-flouring as this makes dense bread.
Place the kneaded dough in a greased bowl, cover with a damp towel, and let rise in a warm spot for 1-1.5 hours.
The dough should double in size during this first rise, which develops flavor and creates the bread’s airy texture. A warm (not hot) spot like the top of your refrigerator works perfectly—around 75-80°F is ideal.
You can also place the bowl in an oven with just the light on. The damp towel prevents a skin from forming on the dough’s surface, which would create tough spots in your finished bread.
Punch down the risen dough and shape it into a loaf on a lightly floured surface.
Gently deflate the dough with your fist to release large air bubbles, then shape it by flattening into a rectangle roughly the width of your loaf pan.
Roll it up tightly from the short end, pinching the seam closed. This shaping technique creates even layers and prevents large air pockets that would make uneven slices.
Transfer the shaped loaf to a greased 9×5-inch loaf pan and cover for the second rise.
Place the dough seam-side down in your pan and cover again with that damp towel. This second rise takes 30-45 minutes and should bring the dough just above the rim of the pan.
Don’t let it over-proof (rise too long) or your bread might collapse in the oven—the top of the dough should look slightly domed but not dramatically risen.
Preheat your oven to 375°F about 15 minutes before the second rise is complete.
Having your oven fully preheated guarantees immediate oven spring—that final burst of rising that happens when the dough hits the hot oven.
For an extra-golden crust, brush the top of your loaf with melted butter or beaten egg just before baking. You can also score the top with a sharp knife for a professional bakery look.
Bake for 30-35 minutes until the crust is golden brown and the internal temperature reaches 190°F.
The bread is done when it sounds hollow when tapped on the bottom—carefully turn the loaf out of the pan and give it a tap test.
If you don’t have a thermometer, look for a deep golden-brown crust and that hollow sound. If the top browns too quickly but the center isn’t done, tent it loosely with foil and continue baking.
Cool the bread completely on a wire rack before slicing—this takes about 1 hour.
I know it’s torture to wait, but cutting too early releases steam and creates a gummy texture inside. The bread actually continues cooking from residual heat during this cooling period, and the crumb structure sets properly.
Once cooled, your homemade bread will stay fresh for 3-4 days wrapped in plastic or can be frozen for up to 3 months.
Chef Tips
Master these professional techniques to elevate your homemade bread from good to bakery-quality.
I always use a kitchen scale for precise measurements—it’s one of the most important kitchen tools.
My favorite baking techniques include creating steam with a pan of water for crusty loaves and using the windowpane test to check gluten development perfectly.
Nutrition
This homemade bread recipe provides essential carbohydrates and moderate amounts of protein and fiber. The nutritional values are calculated per slice based on a standard loaf yielding 12 servings.
| Nutrient | Amount per Slice |
|---|---|
| Calories | 132 |
| Total Fat | 1.2g |
| Saturated Fat | 0.3g |
| Cholesterol | 0mg |
| Sodium | 230mg |
| Total Carbohydrates | 26g |
| Dietary Fiber | 1.1g |
| Sugars | 1.8g |
| Protein | 3.8g |
| Iron | 1.6mg |
| Calcium | 22mg |
| Potassium | 69mg |
| Folate | 43mcg |
What You’ll Love About This Recipe
This homemade bread recipe will quickly become your go-to favorite, filling your kitchen with the most amazing aroma that makes everyone gather around. It’s surprisingly simple to make, even if you’ve never baked bread before, and uses ingredients you probably already have in your pantry.
Perfect for beginners – The straightforward steps guide you through each part of the process, so you’ll feel confident from mixing to slicing that first warm piece.
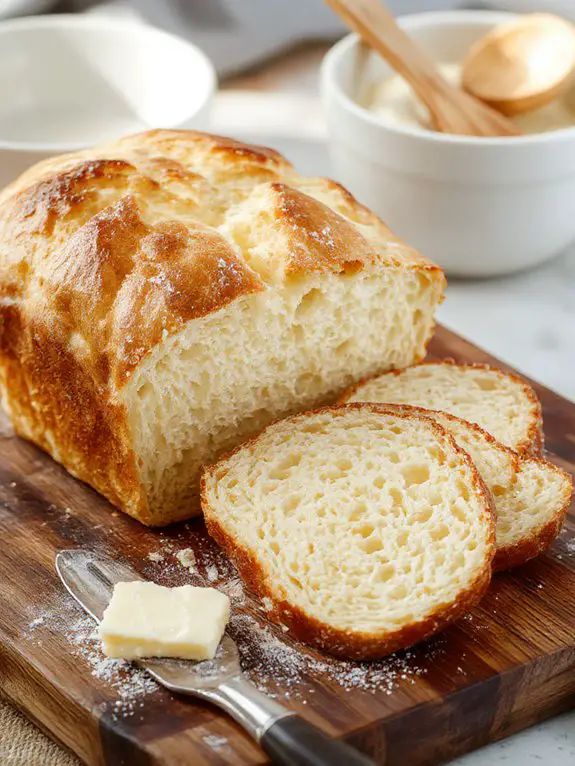
Incredibly versatile – You can enjoy this bread fresh from the oven with butter, use it for sandwiches throughout the week, or even turn day-old slices into fantastic French toast.
Budget-friendly and satisfying – Making your own bread costs just a fraction of store-bought loaves, plus you’ll know exactly what ingredients went into every single bite.
Recipe Card
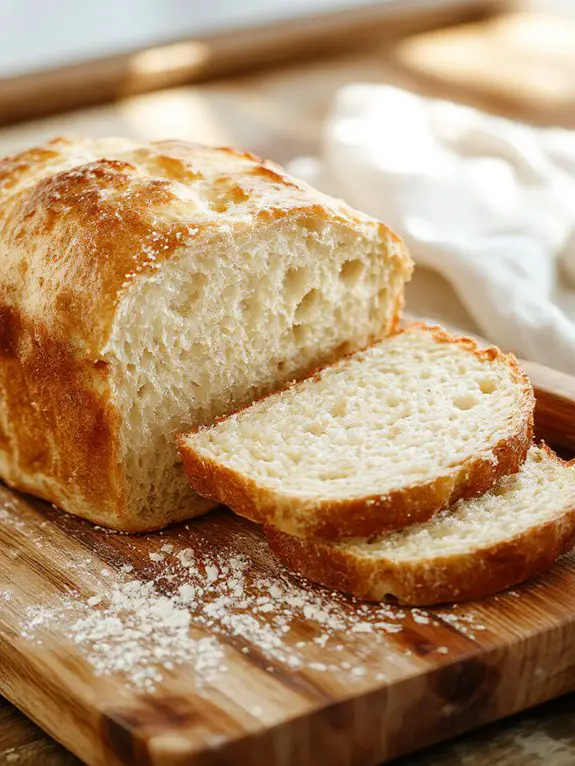
This classic bread recipe produces a soft, tender loaf with a golden crust that’s perfect for sandwiches, toast, or enjoying fresh from the oven. The simple combination of basic pantry ingredients creates a versatile homemade bread that rivals any store-bought variety.
Ingredients:
- 3 cups all-purpose flour
- 1 packet (2¼ teaspoons) active dry yeast
- 1 tablespoon sugar
- 1 teaspoon salt
- 1 cup warm water (110°F)
- 2 tablespoons vegetable oil
Instructions:
- In a large mixing bowl, combine warm water, sugar, and yeast. Let stand for 5-10 minutes until foamy.
- Add oil and salt to the yeast mixture, stirring to combine.
- Gradually add flour, mixing until a soft dough forms.
- Turn dough onto a floured surface and knead for 8-10 minutes until smooth and elastic.
- Place dough in a greased bowl, cover with a damp cloth, and let rise in a warm place for 1 hour or until doubled in size.
- Punch down dough and shape into a loaf. Place in a greased 9×5-inch loaf pan.
- Cover and let rise again for 30-45 minutes until dough crowns the pan.
- Preheat oven to 375°F. Bake for 30-35 minutes until golden brown and hollow-sounding when tapped.
- Cool in pan for 5 minutes, then turn out onto a wire rack to cool completely.
Notes:
- Water temperature is vital – too hot will kill the yeast, too cool won’t activate it
- Dough should be slightly sticky but manageable
- Store cooled bread in an airtight container for up to 3 days
Equipment:
- Large mixing bowl
- 9×5-inch loaf pan
- Kitchen towel
- Wire cooling rack
Time:
- Prep time: 20 minutes
- Cooking time: 35 minutes
- Total time: 2 hours 30 minutes (including rising time)
Cuisine: American
Serving: 12 slices