I’ve spent years perfecting this pie crust recipe, and I can tell you that the difference between a good pie and an exceptional one starts with the foundation. Most home bakers make critical mistakes that turn their crust tough and soggy, but there’s a specific technique I use that guarantees flaky, buttery layers every single time. The secret isn’t what you’d expect.
Recipe
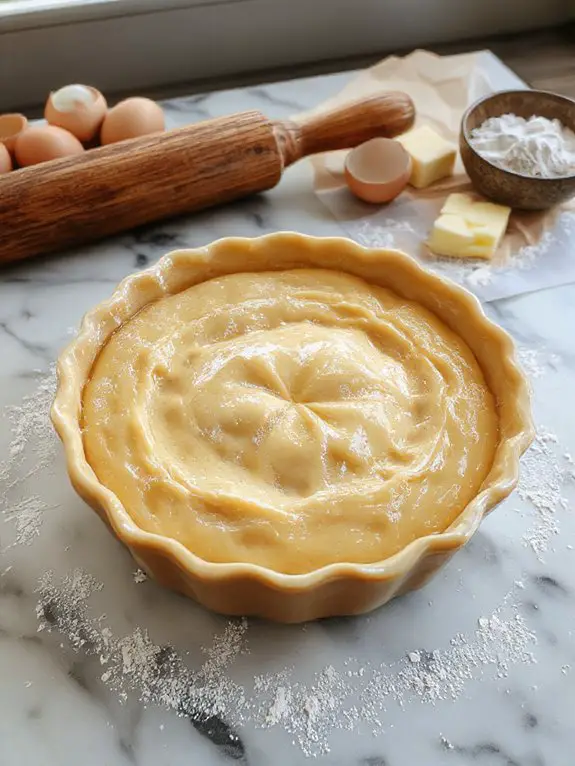
I can tell you with absolute certainty that this is the only pie crust recipe you’ll ever need—it creates that perfect golden, flaky masterpiece that shatters beautifully under your fork and melts on your tongue like buttery heaven.
What makes this crust so incredible is the combination of cold butter and a touch of vinegar (trust me on this secret weapon!), which creates those coveted layers that puff and separate as they bake, giving you that bakery-quality texture every single time.
I’ve been making pies for over fifteen years, and I genuinely believe that the crust is what separates a good pie from an unforgettable one—it should never be an afterthought but the star that cradles your filling.
When you bite into this crust, you’ll experience that satisfying crunch followed by tender, buttery layers that practically dissolve in your mouth, with just enough structure to hold whatever delicious filling you’re dreaming up.
The best part? This recipe is surprisingly forgiving, so even if you’re intimidated by pastry-making, you’ll find yourself rolling out gorgeous, workable dough that doesn’t crack or tear, and before you know it, you’ll be the person everyone asks to bring dessert to every gathering.
Ingredients
The secret to an absolutely perfect pie crust lies in just five simple ingredients, but here’s the insider truth—quality and technique with these basics will make or break your crust.
Cold butter is your best friend here, creating those coveted flaky layers, while the right flour gives you structure without toughness. Don’t overthink it, but definitely don’t skimp on the good stuff where it counts.
Essential Crust Components:
• 2½ cups all-purpose flour**** – The foundation that holds everything together. King Arthur or Bob’s Red Mill are my go-tos, but any quality all-purpose flour works.
*Substitute: Pastry flour for extra tenderness, but never bread flour—too much gluten will make your crust tough.*
• 1 cup (2 sticks) unsalted butter, cold and cubed – This is NON-NEGOTIABLE for flakiness. European-style butter with higher fat content is worth the splurge. Keep it refrigerator-cold until the moment you use it.
*Substitute: Half butter, half lard for old-school flavor, or all-vegetable shortening for dairy-free (though you’ll sacrifice some flavor).*
• 1 teaspoon salt – Don’t skip this flavor enhancer. Fine sea salt or kosher salt both work perfectly.
*Pro tip: Salt also strengthens the gluten structure just enough for easy rolling.*
• 6-8 tablespoons ice water**** – The magic that brings everything together. Start with 6 tablespoons and add more only if needed. The colder, the better—I literally put ice cubes in my water.
*Substitute: Ice-cold vodka for half the liquid creates an extra-tender crust since alcohol doesn’t develop gluten.*
• 1 tablespoon sugar (optional) – For sweet pies, this adds just a hint of sweetness and helps with browning. Skip it entirely for savory applications.
How to Make the Best Classic Buttery Pie Crust
Start with ice-cold ingredients for the flakiest crust possible.
Before you even touch the flour, confirm your butter is straight from the fridge and your water has been chilling with ice cubes for at least 10 minutes. Cold butter creates steam pockets as it melts during baking, which gives you those coveted flaky layers. Room temperature ingredients will result in a tough, dense crust that nobody wants.
Combine flour and salt in a large mixing bowl.
Whisk together 2½ cups all-purpose flour and 1 teaspoon salt until evenly distributed. This guarantees the salt flavors every bite of your crust rather than creating salty pockets. A wide bowl gives you plenty of room to work without flour flying everywhere when you start cutting in the butter.
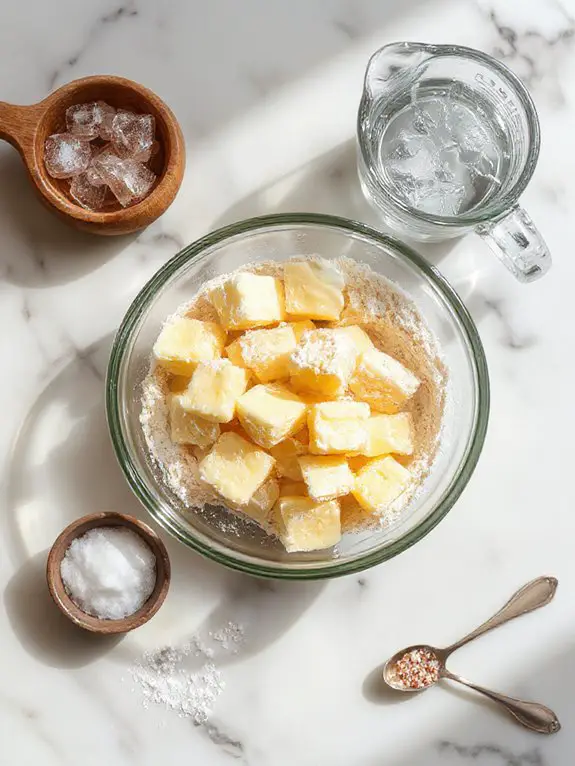
Cut cold butter into small cubes and add to flour mixture.
Dice ½ cup (1 stick) of cold unsalted butter into roughly ½-inch pieces—smaller pieces incorporate faster and more evenly. The key is working quickly so the butter doesn’t warm up from the heat of your hands. If your kitchen is particularly warm, pop the bowl in the freezer for 5 minutes before the next step.
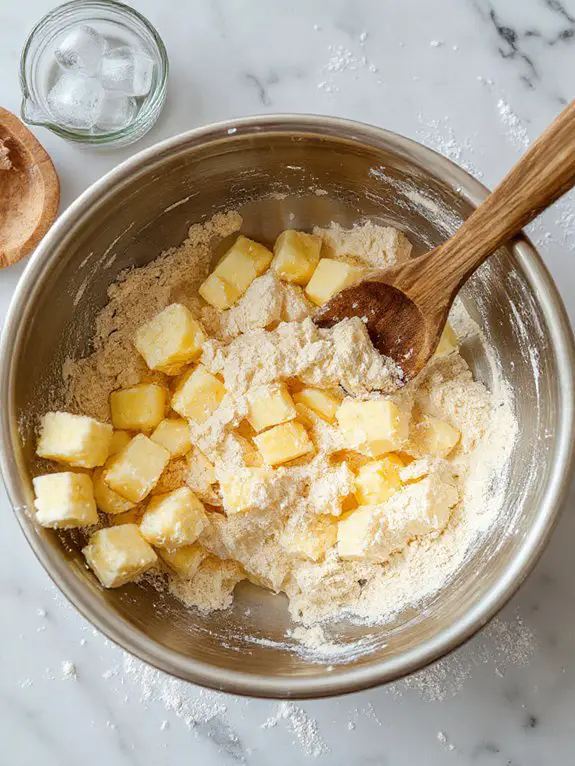
Cut butter into flour using a pastry cutter or two knives until mixture resembles coarse crumbs.
Work the butter into the flour until you have a mixture that looks like coarse breadcrumbs with some pea-sized butter pieces still visible. Those larger butter chunks are your friends—they’ll create beautiful flaky layers. Avoid overworking; if the mixture starts looking like fine sand, you’ve gone too far and the butter has gotten too warm.
Gradually add ice water one tablespoon at a time, mixing gently with a fork.
Start with 3-4 tablespoons of ice-cold water, adding just one tablespoon at a time while gently stirring with a fork. The dough should start coming together but still look slightly shaggy—it won’t look perfect yet, and that’s exactly what you want. Too much water creates a soggy crust, so add just enough for the dough to hold together when pressed.
Gather dough into a ball and test for proper hydration.
Gently press the mixture together with your hands—it should hold together without cracking extensively, but it shouldn’t feel wet or sticky. If it’s still too dry and won’t hold together, add another tablespoon of ice water. The dough should feel slightly cool to the touch, which means you’ve kept that butter properly chilled.
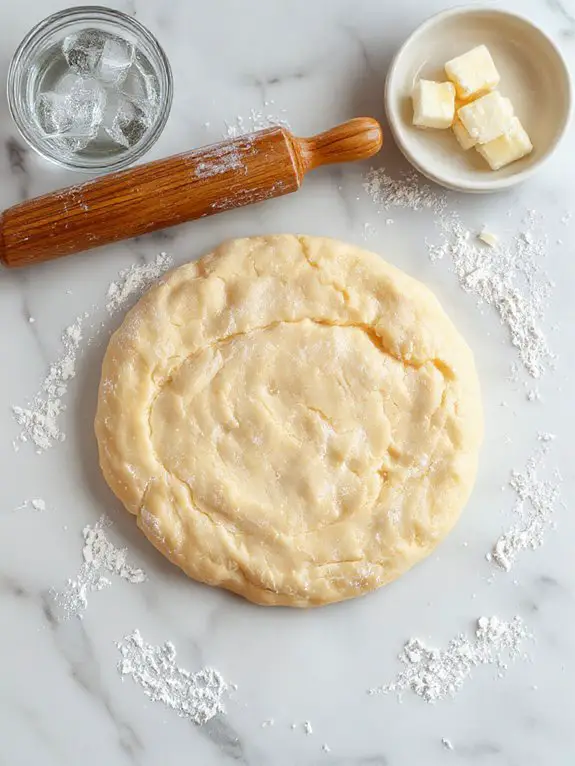
Divide dough in half and shape each portion into a disk.
Split the dough evenly and gently pat each half into a flat disk about 4 inches across. This disk shape makes rolling much easier later and prevents the edges from cracking. Don’t knead or overwork the dough—just press it together enough to form a cohesive disk.
Wrap each disk tightly in plastic wrap and refrigerate for at least 1 hour.
Chilling allows the gluten to relax, making the dough easier to roll without shrinking back. It also firms up the butter again, which is essential for achieving those flaky layers. If you’re in a hurry, 30 minutes in the freezer will do the trick, but longer chilling (even overnight) actually improves the texture and flavor.
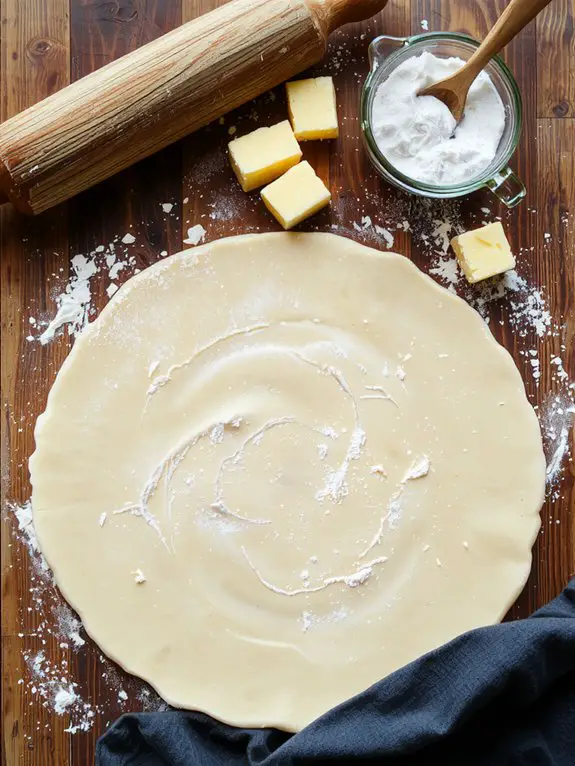
Roll out chilled dough on a lightly floured surface from center outward.
Remove one disk from the fridge and let it sit for 5 minutes if it’s very hard. Roll from the center outward in all directions, rotating the dough 90 degrees every few rolls to maintain a round shape. Keep the surface lightly floured but don’t overdo it—too much flour can make the crust tough. Aim for about ⅛-inch thickness for the bottom crust.
Transfer rolled dough to pie pan using the rolling pin method.
Gently roll the dough around your rolling pin, then unroll it over your 9-inch pie pan. This prevents tearing and stretching. Let the dough settle naturally into the pan without stretching or pulling—stretched dough will shrink during baking and ruin your beautiful pie edges.
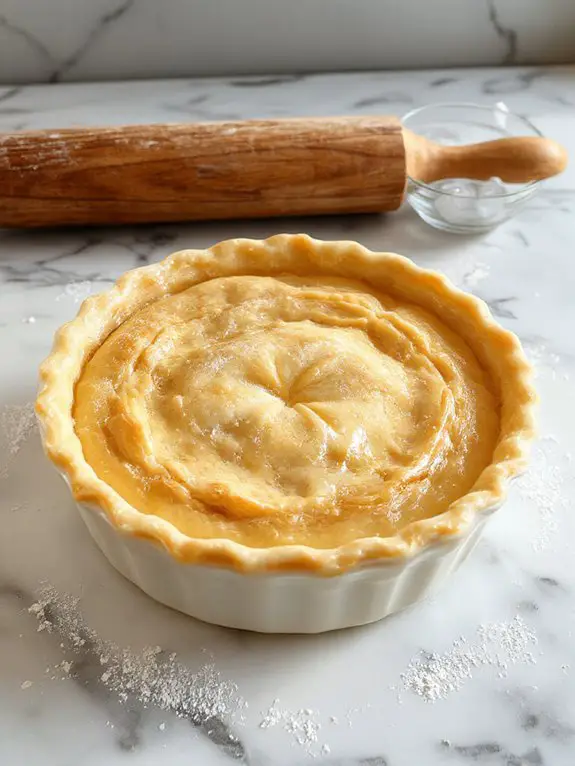
Trim excess dough and crimp edges decoratively.
Leave about 1 inch of overhang beyond the pie pan rim, then fold this excess under itself to create a thick edge that sits on the rim. Crimp with your fingers or a fork for a decorative finish that also helps prevent shrinkage. For a single-crust pie, you’re ready to add filling and bake according to your recipe’s directions.
Chef Tips
While mastering pie crust takes practice, a few professional secrets can dramatically improve your results from day one. I recommend keeping your ingredients cold and working quickly.
Essential pastry techniques include cutting butter into flour until it resembles coarse crumbs. Sharp knife skills help when trimming excess dough for clean, professional edges.
Nutrition
A basic pie crust made with flour, butter, salt, and water provides essential carbohydrates and fats. One serving (1/8 of a 9-inch pie crust) contains approximately the following nutritional values.
| Nutrient | Amount per Serving |
|---|---|
| Calories | 180 |
| Total Fat | 11g |
| Saturated Fat | 7g |
| Cholesterol | 30mg |
| Sodium | 200mg |
| Total Carbohydrates | 18g |
| Dietary Fiber | 1g |
| Sugars | 0g |
| Protein | 3g |
| Vitamin A | 8% DV |
| Iron | 6% DV |
What You’ll Love About This Recipe
Making the perfect pie crust doesn’t have to be intimidating, and this recipe proves it with simple steps that work every time. Whether you’re a beginner baker or someone who’s struggled with tough, crumbly crusts in the past, you’ll find this approach invigoratingly straightforward and forgiving.
Foolproof technique that eliminates guesswork – The clear measurements and step-by-step method take away the mystery, so you’ll know exactly what to look for at each stage.
Flaky, buttery results every single time – This recipe creates those coveted layers that make pie crust irresistible, with a tender texture that melts in your mouth.
Works perfectly for both sweet and savory pies – From apple pie to quiche, this versatile crust complements any filling you have in mind, making it your go-to recipe for all occasions.
Recipe Card
This classic pie crust recipe creates a perfectly flaky and tender foundation for any pie, whether sweet or savory.
The key to success lies in keeping the ingredients cold and handling the dough minimally to achieve that coveted buttery, flaky texture that makes homemade pies truly exceptional.
Ingredients:
- 2½ cups all-purpose flour
- 1 teaspoon salt
- 1 tablespoon granulated sugar
- 1 cup (2 sticks) cold unsalted butter, cubed
- 6-8 tablespoons ice water
Instructions:
- In a large bowl, whisk together flour, salt, and sugar.
- Add cold cubed butter to the flour mixture and cut in using a pastry cutter or two knives until mixture resembles coarse crumbs with some pea-sized butter pieces.
- Gradually add ice water, 1 tablespoon at a time, mixing gently with a fork until dough just begins to come together.
- Divide dough in half, shape into disks, and wrap in plastic wrap.
- Refrigerate for at least 1 hour before rolling.
- On a floured surface, roll out one disk to fit a 9-inch pie pan.
- Transfer to pie pan, trim edges, and crimp as desired.
Notes:
Keep butter and water as cold as possible for the flakiest results.
Don’t overwork the dough, as this can make the crust tough.
Dough can be refrigerated for up to 3 days or frozen for up to 3 months.
Equipment:
Large mixing bowl, pastry cutter or knives, measuring cups and spoons, plastic wrap, rolling pin, 9-inch pie pan
Prep Time: 15 minutes
Cooking Time: Varies by pie recipe
Cuisine: American
Serving: Makes 2 pie crusts (top and bottom for one 9-inch pie)