
Recipe
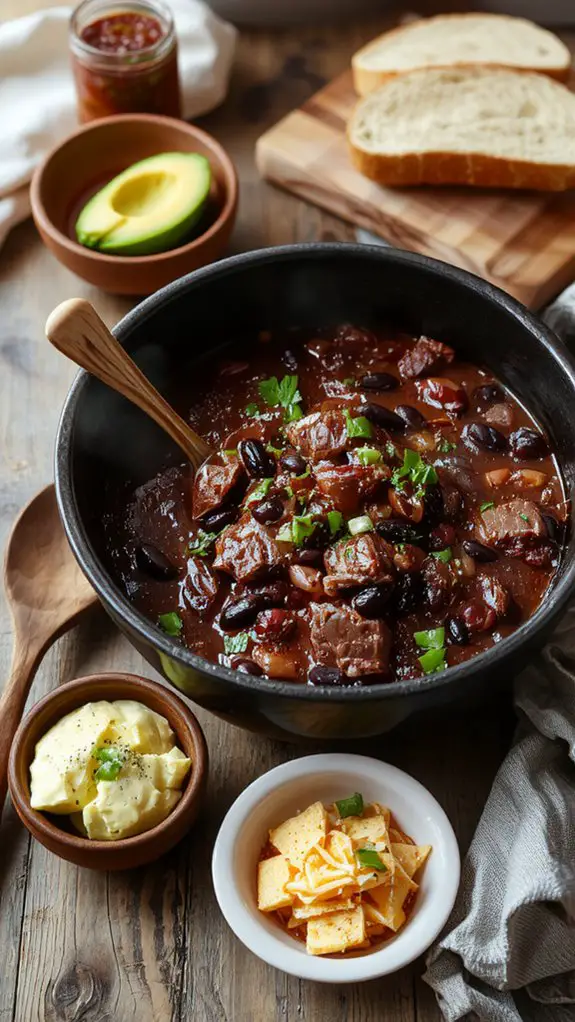
This chili recipe is hands-down the best you’ll ever make—bold, hearty, and packed with layers of flavor that’ll have everyone asking for seconds. What sets it apart? The perfect blend of spices, a hint of smokiness, and just the right balance of beans, meat, and tomatoes.
It’s the kind of chili that simmers low and slow, filling your kitchen with an aroma so irresistible you’ll be counting down the minutes ’til it’s ready. Whether it’s game day, a cozy night in, or feeding a crowd, this dish delivers every time.
Trust me, once you try this recipe, it’ll become your go-to. Let’s get cooking!
Ingredients
The foundation of any great chili lies in its ingredients—choosing the right ones guarantees a rich, flavorful dish that’s hearty and satisfying. Here’s what you’ll need, along with some insider tips to make your chili stand out.
- Ground beef or turkey – Opt for 80/20 ground beef for a perfect balance of flavor and fat, or use turkey for a leaner option.
- Onion and garlic – Fresh is best here; these aromatics build the base of your chili.
- Beans – Kidney beans and black beans are classic, but pinto beans work too. Always rinse canned beans to avoid excess sodium.
- Crushed tomatoes – Canned is fine, but fire-roasted tomatoes add a smoky depth.
- Tomato paste – A secret weapon for thickening and intensifying the flavor.
- Beef or vegetable broth – Use low-sodium to control the saltiness.
- Chili powder – The non-negotiable spice blend that defines the dish.
- Cumin – Adds earthy warmth; don’t skip it.
- Paprika – Sweet or smoked, depending on your preference for depth.
- Cayenne pepper – For heat; adjust to taste.
- Salt and black pepper – Essential for seasoning; taste as you go.
- Olive oil – For sautéing; a neutral oil like avocado oil works too.
- Optional add-ins – Corn, bell peppers, or a splash of beer for complexity.
- Garnishes – Sour cream, shredded cheese, green onions, or fresh cilantro to finish.
Pro tip: Toasting the spices in the oil before adding liquids releases their full flavor.
And don’t forget—chili tastes even better the next day, so leftovers are a win!
How to Make the Best Classic Beef Chili Recipe

• Pour in crushed tomatoes, tomato sauce, and beef broth for the liquid base. The combination of these ingredients provides the perfect balance of tanginess and richness. Scrape the bottom of the pot to incorporate any flavorful bits.
• Add drained kidney beans and black beans, stirring to combine. Beans add heartiness and texture. If you prefer a thicker chili, you can mash a small portion of the beans before adding them.
• Bring the mixture to a boil, then reduce the heat to a gentle simmer. This allows the flavors to meld together. Cover partially to control evaporation and prevent the chili from becoming too thick too quickly.
• Simmer for at least 30 minutes, stirring occasionally. The longer it simmers, the better the flavors develop.
• If it thickens too much, add a splash of broth or water to adjust the consistency.
• Taste and adjust seasoning with salt, pepper, or a pinch of sugar if needed. Balancing the flavors at the end guarantees a perfectly seasoned chili. A touch of sugar can help counteract any acidity from the tomatoes.
• Let the chili rest for 10 minutes off the heat before serving. This allows the flavors to settle and the texture to thicken slightly. It’s worth the wait for a more cohesive dish.
• Serve with your favorite toppings like shredded cheese, sour cream, or green onions. Customizing your bowl makes it personal and fun. Pro tip: Warm your bowls beforehand to keep the chili hot longer.
Nutrition
This homemade chili recipe is packed with protein and fiber, making it a nutritious meal option. Below is the detailed nutritional breakdown per serving.
| Nutrient | Amount per Serving |
|---|---|
| Calories | 320 |
| Protein | 22g |
| Fat | 10g |
| Carbohydrates | 35g |
| Fiber | 8g |
| Sodium | 800mg |
Chef Tips
While making chili, I recommend browning the meat slowly to lock in flavor and guarantee it stays tender. Don’t rush the onions—let them caramelize for depth.
Toast your spices briefly to wake up their aroma. Simmer uncovered to thicken the sauce, stirring occasionally.
Taste as you go, adjusting salt and heat. A splash of vinegar or lime at the end brightens everything.
Trust the process—it’s worth it.
Frequently Asked Questions
Can I Use Ground Turkey Instead of Beef?
Yes, you can use ground turkey instead of beef. I’ve made chili with both, and while turkey’s leaner, it still works well. Just adjust the seasoning slightly—I often add a little extra spice to balance the milder flavor.
How Do I Store Leftover Chili?
I’d store leftover chili in an airtight container and refrigerate it for up to 3-4 days. If freezing, I’d portion it into freezer-safe bags or containers, label them, and they’d last 3-6 months.
Can I Freeze Chili for Later?
Yes, I always freeze chili for later! Just let it cool completely, then portion it into airtight containers or freezer bags. It’ll stay good for up to three months—thaw and reheat whenever I’m ready to enjoy it again.
What Toppings Go Well With Chili?
I’d top my chili with shredded cheddar cheese, sour cream, and chopped green onions. Sometimes I’ll add a sprinkle of cilantro, diced avocado, or crushed tortilla chips for texture. A dash of hot sauce works too.
How Long Does Chili Stay Fresh in the Fridge?
Chili stays fresh in the fridge for about 3 to 4 days if stored in an airtight container. I make sure it’s cooled before refrigerating, and if I’m not eating it soon, I’ll freeze it instead.