
Recipe
This homemade glow recipe is the ultimate skincare hack you’ll wish you discovered sooner—trust me, your skin will thank you. Packed with simple, natural ingredients like hydrating aloe vera and antioxidant-rich turmeric, it’s a powerhouse blend that leaves your skin feeling fresh, radiant, and deeply nourished.
I’ve been making this for years, and it’s become my go-to for that lit-from-within glow. The texture is silky smooth, and the subtle earthy scent is calming—perfect for a little self-care ritual.
Best part? It’s ridiculously easy to whip up in minutes. Whether you’re a skincare newbie or a DIY pro, this recipe is a game-changer for anyone craving a healthy, glowing complexion. Let’s get started!
Ingredients
Crafting a homemade glow recipe starts with selecting the right ingredients that bring out the best in your skin. Each component plays an essential role in delivering that radiant, healthy glow. Here’s the breakdown of what you’ll need, why it matters, and how you can swap things up if necessary.
- Aloe Vera Gel (1/4 cup): The star of the show! Aloe vera is hydrating, soothing, and packed with antioxidants. Look for pure, organic gel for the best results. (Can’t find it? Use hydrating cucumber puree as a swap.)
- Pink Clay (1 tablespoon): This gentle clay detoxifies and brightens, making it a non-negotiable for glowing skin. (No pink clay? Switch to white kaolin clay for a milder effect.)
- Honey (1 tablespoon): A natural humectant that locks in moisture and adds a subtle glow. Always opt for raw, unfiltered honey for maximum benefits.
- Rosehip Oil (5-10 drops): Packed with vitamins A and C, this oil promotes cell renewal and adds a healthy radiance. (No rosehip oil? Try argan oil for similar nourishment.)
- Essential Oil (optional, 2-3 drops): Lavender or tea tree oil adds a calming or antibacterial touch. This is optional but a nice little win for a spa-like feel.
- Baking Soda (1/2 teaspoon, optional): A gentle exfoliant that sloughs off dead skin cells for a smoother texture. Use sparingly—too much can irritate sensitive skin.
Pro tip: Always patch-test new ingredients, especially if you have sensitive skin! And if you’re feeling fancy, garnish your mix with a sprinkle of edible rose petals for an Instagram-worthy finish.
How to Make the Best Glow Recipe Ingredients List

– Mixing Dry Ingredients: If your recipe calls for powders like kaolin clay or mica, sift them before adding to the wet mix.
Why it matters: Sifting prevents clumps and guarantees a smooth texture.
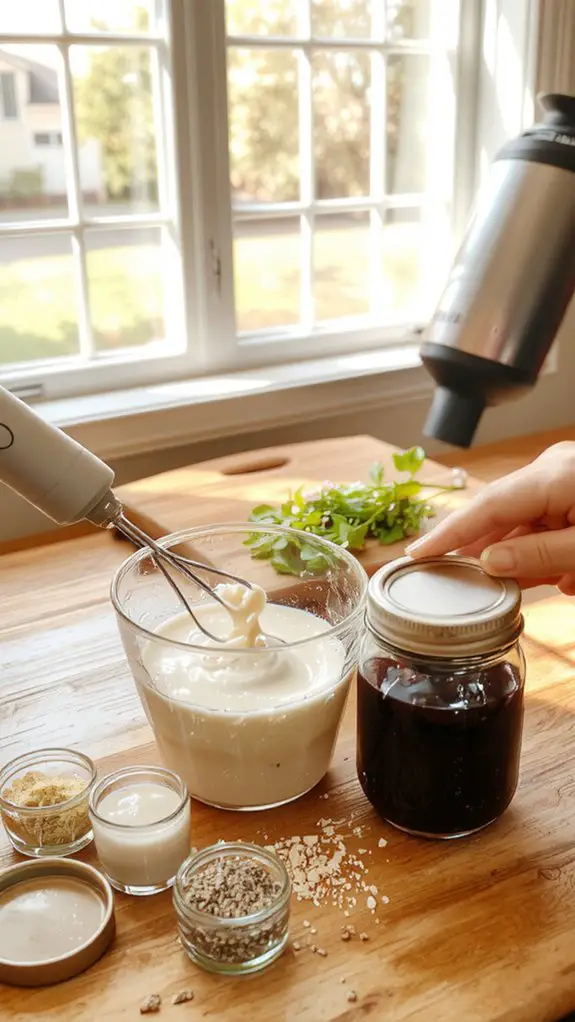
– Final Emulsification: Use a hand mixer or immersion blender to emulsify the mixture.
Visual cue: The mixture should look creamy and uniform, with no separation.
Warning: Over-blending can introduce air bubbles, so keep it concise.
– Pouring and Setting: Transfer the mixture into clean, sterilized containers.
Let it cool and set at room temperature or in the fridge, depending on the recipe.
Flexibility: Some recipes may require stirring during the setting process to maintain a smooth consistency.
– Storage Tips: Keep your glow recipe in a cool, dark place or refrigerate if it contains perishable ingredients.
Label the containers with the date and ingredients for easy reference.
Pro tip: Use dark glass jars to preserve efficacy and extend shelf life.
– Patch Test: Before applying, do a patch test on a small area of skin to verify compatibility.
Why it matters: This step helps prevent any adverse reactions, especially with sensitive skin.
Nutrition
Nutritional information for homemade glow recipe may vary based on ingredients used. Below is an approximate breakdown.
| Nutrient | Amount per Serving |
|---|---|
| Calories | 120 kcal |
| Carbohydrates | 15 g |
| Protein | 2 g |
| Fat | 6 g |
| Fiber | 3 g |
| Sugar | 10 g |
| Sodium | 50 mg |
Chef Tips
When you’re making this glow recipe, I recommend using fresh, organic ingredients for the best results.
Always blend or mix thoroughly to guarantee a smooth, consistent texture.
Store it in a clean, airtight container to preserve its quality.
Apply it with clean hands or a brush to avoid contamination.
Use it immediately or keep it refrigerated if it contains perishable ingredients for up to three days.
Frequently Asked Questions
Can I Use This Glow Recipe Daily?
I’d recommend checking the ingredients first—if they’re gentle, you can probably use it daily. But if it’s got exfoliants or strong actives, I’d suggest limiting it to a few times a week to avoid irritation.
Is This Glow Recipe Safe for Sensitive Skin?
If your skin’s sensitive, I’d patch-test first. Gentle ingredients like aloe or honey usually work, but I’d avoid anything harsh. If it stings or irritates, I’d stop using it immediately. Always listen to my skin.
How Long Does the Glow Effect Last?
The glow effect usually lasts about 6 to 8 hours on my skin, but it depends on factors like my skin type and how well I moisturize beforehand. I find it fades gradually, so I reapply as needed.
Can I Store Leftover Glow Recipe Mixture?
Yes, I can store leftover glow recipe mixture. I’ll keep it in a clean, airtight container in the fridge, but I’ll use it within a week to make sure it’s fresh and safe for my skin.
Does This Glow Recipe Work in Winter?
Yes, I’ve found this glow recipe works well in winter. It hydrates and nourishes my skin, which tends to dry out in colder months. I just make sure to use it consistently for the best results!