
Recipe
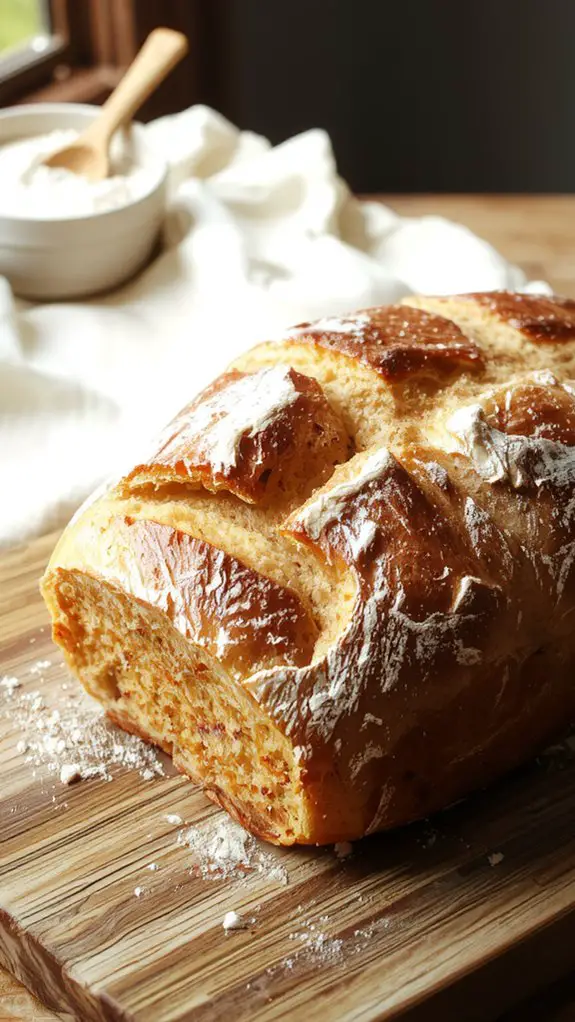
Trust me when I say this homemade bread recipe is a game-changer—once you taste it, store-bought loaves will never compare. What makes it special? Simple ingredients like flour, yeast, and a pinch of love transform into a golden, crusty masterpiece that fills your kitchen with that irresistible freshly baked aroma.
I’ve made this loaf countless times, and every single bite feels like a warm hug—soft and pillowy on the inside, with a satisfying crunch on the outside.
Whether you’re a beginner or a seasoned baker, this recipe is foolproof and absolutely worth the effort. Get ready to impress yourself (and everyone around you) with the best bread you’ve ever made. Let’s get started!
Ingredients
Creating the perfect loaf of homemade bread starts with choosing the right ingredients. Each component plays a pivotal role in texture, flavor, and rise, so quality matters. Here’s what you’ll need, along with some pro tips and swaps to make your baking journey seamless:
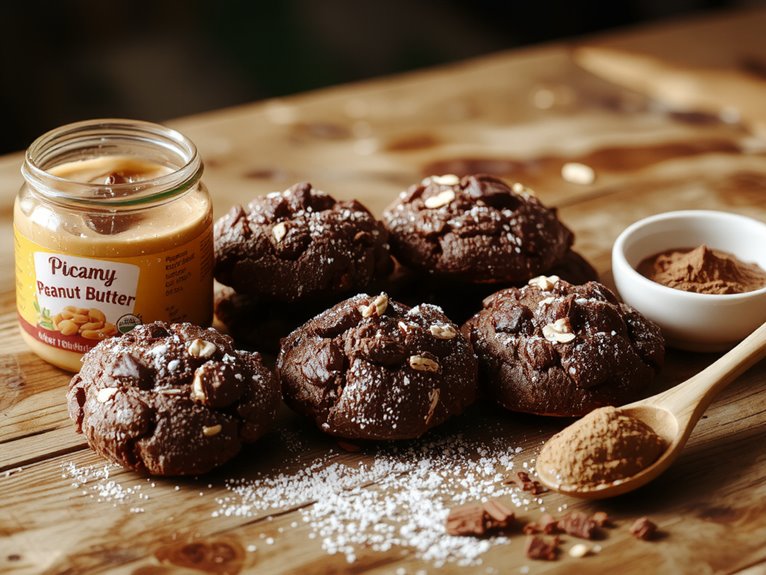
- Bread Flour: Opt for bread flour over all-purpose for its higher protein content, which creates a chewy, structured crumb. If unavailable, all-purpose flour works, but the texture may be slightly softer.
- Water: Warm water (100–110°F) activates the yeast—too hot, and it’ll kill it; too cold, and it won’t rise.
- Active Dry Yeast: Freshness is key—check the expiration date. Instant yeast can be substituted 1:1 if that’s what you have on hand.
- Salt: *Non-negotiable.* Salt controls yeast activity and enhances flavor. Use fine sea salt or kosher salt for even distribution.
- Sugar: A small amount feeds the yeast and adds a subtle sweetness. Honey or maple syrup can be used as alternatives.
- Olive Oil or Butter: Adds richness and keeps the bread moist. Use olive oil for a slightly savory note or butter for a richer flavor.
Optional Extras:
- Herbs or spices (like rosemary or garlic powder) for a flavor boost.
- Seeds (sesame, poppy, or sunflower) for crunch and visual appeal.
With these ingredients and a little patience, you’re on your way to bakery-worthy bread right at home.
How to Make the Best Simple Homemade Bread Recipe

– Prepare your workspace: Clear your countertops and verify all ingredients are measured and ready. This includes warming your water to about 110°F (43°C)—too hot kills yeast, too cold won’t activate it.
Pro tip: Use a kitchen thermometer for accuracy.
– Activate the yeast: In a large mixing bowl, combine warm water, sugar, and yeast. Let it sit for 5–10 minutes until frothy.
This step confirms your yeast is alive and ready to work its magic.
– Mix the dough: Add salt and flour to the yeast mixture, stirring until a shaggy dough forms. Use a wooden spoon or your hands—it’ll be sticky but manageable.
Pro tip: Start with 3 cups of flour and add more gradually as needed.
– Knead the dough: Turn the dough onto a floured surface and knead for 8–10 minutes until smooth and elastic. This develops gluten, giving your bread structure.
Watch out: Over-flouring can make your bread dense.
– First rise: Place the dough in a lightly oiled bowl, cover with a damp towel, and let it rise in a warm spot for 1–1.5 hours or until doubled in size.
A quick trick: Warm your oven slightly, turn it off, and use it as a proofing box.
– Shape the bread: Punch down the risen dough to release air bubbles. Shape it into a loaf and place it in a greased loaf pan or on a baking sheet for a rustic look.
Pro tip: Smooth the top with lightly oiled hands for an even crust.
– Second rise: Cover the shaped dough and let it rise again for 30–45 minutes.
It should puff up noticeably but not over-proof—too much rising can cause it to collapse in the oven.
– Preheat and prep: Preheat your oven to 375°F (190°C) while the dough rises.
Optional: Brush the loaf with melted butter or milk for a golden, shiny crust. Sprinkle with oats or seeds for extra texture.
– Bake: Place the loaf in the oven and Bake for 30–35 minutes, or until the crust is golden brown and the bottom sounds hollow when tapped.
Pro tip: Cover loosely with foil halfway through if the top browns too quickly.
– Cool and slice: Let the bread cool in the pan for 10 minutes, then transfer to a wire rack to cool completely.
Resist the urge to slice it hot—letting it cool guarantees the crumb sets properly.
Nutrition
Homemade bread provides essential nutrients like carbohydrates and proteins. It’s a good source of energy for daily activities.
| Nutrient | Amount per slice |
|---|---|
| Calories | 70 |
| Carbohydrates | 13g |
| Protein | 2g |
| Fat | 1g |
| Fiber | 0.5g |
| Sodium | 100mg |
Chef Tips
Now that we’ve covered the nutritional benefits, let’s talk about how to make your homemade bread even better. I always use a digital scale for precise measurements—consistency is key.
Proof your yeast to confirm it’s active, and don’t rush the rise—letting dough double in size improves texture.
Score the top before baking for even expansion, and brush with melted butter after for a golden, soft crust.
Frequently Asked Questions
Can I Use a Bread Machine for This Recipe?
Yes, you can use a bread machine if you prefer. I’d just adjust the kneading and baking times according to your machine’s instructions. It’ll still turn out great—I’ve done it myself a few times!
How Do I Store the Bread to Keep It Fresh?
I store my bread in a paper bag for a day or two, but if I want it to last longer, I wrap it tightly in plastic and keep it at room temperature. Freezing slices works too.
Can I Freeze the Dough Before Baking?
Yes, you can freeze the dough before baking. I’d recommend shaping it first, then wrapping it tightly in plastic. When you’re ready to bake, let it thaw and rise before putting it in the oven.
What’s the Best Flour Substitute for Gluten-Free Bread?
I’d recommend using a gluten-free flour blend with xanthan gum, like almond or oat flour, for structure. Psyllium husk also helps bind the dough. It’s trial and error, but these options work best for gluten-free bread.
Why Does My Bread Collapse in the Oven?
Your bread might collapse because I didn’t let it rise long enough, used too much yeast, or overproofed it. Sometimes, I skip kneading properly or add too much liquid, making the dough weak and unable to hold its shape.