
Recipe
I can confidently say this cake pop recipe is the absolute best you’ll ever make—simple, fuss-free, and guaranteed to impress. Perfect for parties, gifts, or just a sweet treat, these bite-sized delights combine moist, crumbly cake with a smooth, creamy coating that melts in your mouth.
The secret? Infusing real vanilla and a hint of butter for that irresistible homemade flavor. Whether you’re a baking pro or a total beginner, this recipe is foolproof and totally worth the effort.
Trust me, once you bite into one of these, you’ll be hooked—and so will everyone lucky enough to try them!
Ingredients
To make the most irresistible cake pops, you’ll need a mix of pantry staples and a few key ingredients that guarantee they’re moist, flavorful, and perfectly shaped. Quality matters here—especially for the cake and frosting—so don’t skimp on these essentials. Here’s what you’ll need:
For the Cake:
- Oil: Keeps the cake super moist—don’t use butter for this part, as oil secures a tender crumb.
- Eggs: For structure and richness. Room temperature eggs blend better for a smoother batter.
- Buttermilk: Adds a slight tang and keeps the cake fluffy. No buttermilk? Mix 1 cup whole milk with 1 tablespoon vinegar or lemon juice as a shortcut.
- Vanilla Extract: Use pure vanilla for that warm, aromatic flavor—imitation just won’t cut it.
- Flour: All-purpose works best for a balanced texture.
For the Frosting:
- Unsalted Butter: Room temperature butter blends smoothly for a creamy frosting.
- Powdered Sugar: Sift it to avoid lumps and promise a silky texture.
- Heavy Cream: Adds richness and helps achieve the perfect consistency. Milk can sub in a pinch, but cream is ideal.
- Cocoa Powder (optional): For chocolate frosting—use Dutch-process for a deeper flavor.
For Coating & Decoration:
- Candy Melts: These set quickly and create a smooth, glossy coating. Chocolate chips can work, but they may need a touch of oil to thin them out.
- Lollipop Sticks: Sturdy ones are key to avoid droopy pops.
- Sprinkles: For that festive, bakery-style finish.
Pro Tip: Use a cake mix if you’re short on time, but enhance it with an extra egg, ½ cup buttermilk, and 1 teaspoon vanilla for a homemade taste.
Non-Negotiable: High-quality candy melts or chocolate for coating—less likely to crack and set beautifully.
Little Wins: Add a pinch of salt to the frosting for balance or a splash of espresso powder to chocolate elements for depth.
How to Make the Best Classic Vanilla Cake Pops

– Prepare Your Ingredients: Gather all ingredients beforehand to guarantee a smooth process. Make sure your butter is softened to room temperature for easier mixing, and eggs should be at room temperature to blend more evenly into the batter.
Pro Tip: To quickly soften butter, cut it into small pieces and let it sit for 10-15 minutes.
– Mix Dry Ingredients: In a medium bowl, whisk together the flour, baking powder, and salt. This secures even distribution of leavening agents and prevents clumps in your batter.
Pro Tip: Sift the flour for an even lighter texture.
– Cream Butter and Sugar: In a large bowl, beat the softened butter and sugar together until light and fluffy. This step incorporates air into the mixture, which helps the cake rise.
Watch Out: Overbeating can cause the batter to separate, so stop once it’s creamy.
– Add Eggs and Vanilla: Beat in the eggs one at a time, making sure each is fully incorporated before adding the next. Stir in the vanilla extract for that classic flavor.
Pro Tip: Crack eggs into a separate bowl first to avoid shell fragments in your batter.
– Combine Wet and Dry Ingredients: Gradually add the dry ingredients to the wet mixture, mixing on low speed just until combined. Overmixing can lead to a dense cake, so stop as soon as no streaks of flour remain.
Visual Cue: The batter should be smooth and thick but not stiff.
– Bake the Cake: Pour the batter into a greased and lined cake pan, smoothing the top with a spatula. Bake in a preheated oven until a toothpick inserted into the center comes out clean.
Flex Tip: If using a different pan size, adjust baking time accordingly—smaller pans bake faster.
– Cool and Crumble: Allow the cake to cool completely before crumbling it into fine crumbs.
Pro Tip: Use a food processor for quick and even crumbing.
Watch Out: Warm cake can melt the frosting later, so patience is key.
– Mix with Frosting: Combine the cake crumbs with just enough frosting to bind the mixture—it should hold together when pressed but not be overly sticky.
Visual Cue: The texture should resemble damp sand.
– Shape into Balls: Roll the mixture into evenly sized balls, about 1 inch in diameter.
Pro Tip: Use a cookie scoop for consistent sizing. Place them on a lined baking sheet and chill in the fridge for at least 30 minutes to firm up.
Watch Out: Skipping chilling can cause the pops to fall apart when dipped.
– Prepare Coating: Melt candy melts or chocolate in a microwave-safe bowl, stirring frequently to avoid burning.
Pro Tip: Add a teaspoon of coconut oil or shortening for a smoother, shinier coating.
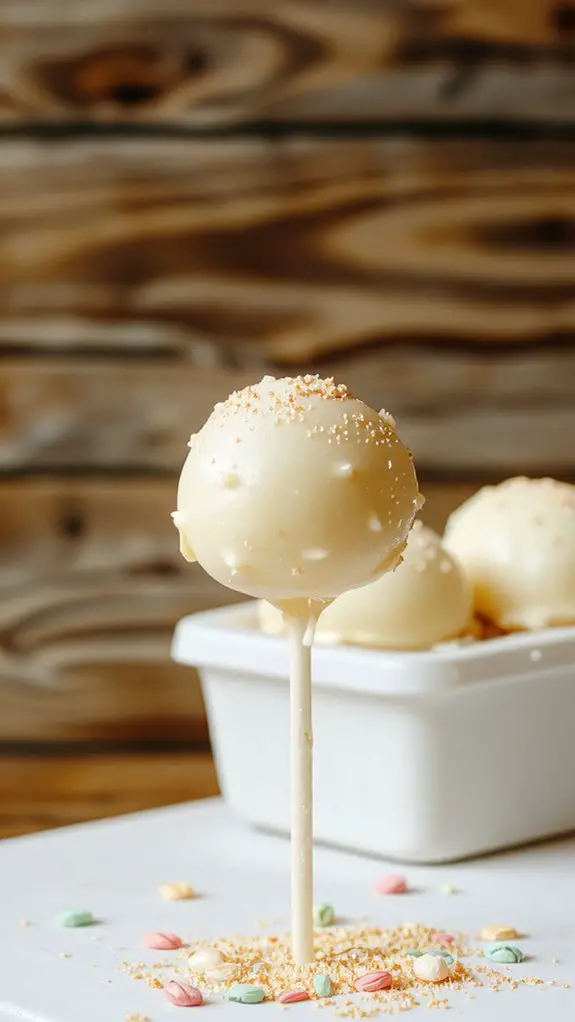
– Dip and Decorate: Insert lollipop sticks into the chilled cake balls and dip each one into the melted coating, tapping off excess. Decorate with sprinkles or drizzle with contrasting chocolate before the coating sets.
Visual Cue: The coating should be smooth and evenly cover the cake pop.
– Let Set: Place the dipped cake pops upright in a foam block or stand and allow them to set completely before serving.
Pro Tip: Store extras in an airtight container for up to 3 days at room temperature or freeze for longer storage.
Nutrition
Understanding the nutritional content of your homemade cake pops can help you balance your diet effectively.
| Nutrient | Amount per Serving |
|---|---|
| Calories | 150 |
| Total Fat | 7g |
| Saturated Fat | 3g |
| Cholesterol | 20mg |
| Sodium | 120mg |
| Total Carbohydrate | 20g |
| Dietary Fiber | 0.5g |
| Sugars | 15g |
| Protein | 2g |
Chef Tips
Making cake pops can be a fun and creative process, but I’ve found a few tricks that make it easier and more successful.
Chill your cake balls before dipping to prevent crumbling.
Use candy melts instead of chocolate for smoother coating.
Dip your stick in melted candy first to secure the cake ball.
Tap off excess coating gently to avoid drips.
Store them upright in foam to dry evenly.
Frequently Asked Questions
Can I Freeze Cake Pops?
Yes, I freeze cake pops all the time. I wrap them individually in plastic wrap, then store them in an airtight container. Thaw them in the fridge overnight before serving to keep their texture and flavor intact.
How Long Do Cake Pops Last?
Cake pops typically last about 1-2 days at room temperature, but I’ve found they stay fresh up to a week in the fridge if stored properly. If freezing, they’ll last around 2 months without losing flavor.
What’s the Best Way to Store Cake Pops?
I store cake pops in an airtight container lined with parchment paper to prevent sticking, keeping them at room temperature if eaten within two days or refrigerating for up to a week; I avoid freezing to maintain texture.
Can I Use a Different Type of Candy Melt?
Yes, you can use a different type of candy melt for your cake pops. I’ve found that chocolate or white chocolate melts work well too, just make sure they’re smooth and thin enough for a good coating.
How Do I Prevent Cake Pops From Falling off Sticks?
I make sure my cake balls are firm and chilled before dipping, and I dip the stick ends in melted candy first to help them stick better. I also avoid overloading the sticks with too much cake.