What You’ll Love About This Recipe
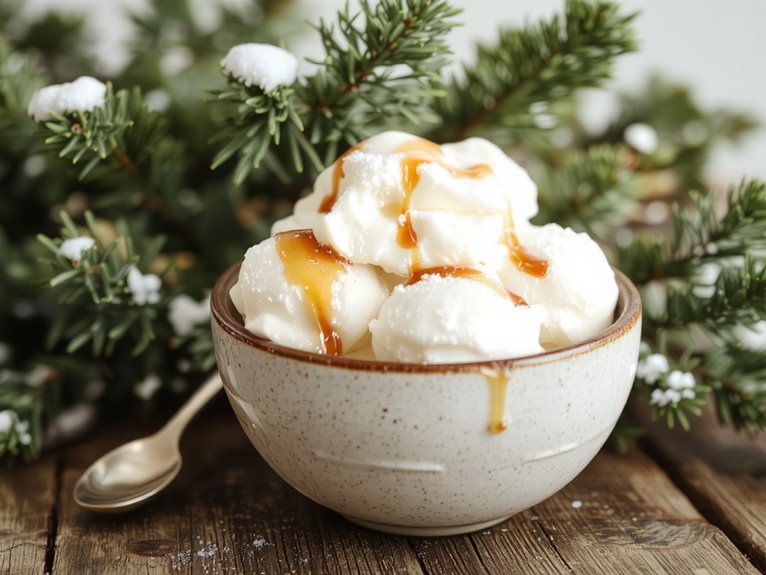
This no-bake cheesecake is creamy, dreamy, and so easy to make—no oven required! Perfect for hot days or when you just want a fuss-free dessert.
- Simple ingredients—just cream cheese, sugar, and a few pantry staples come together for a rich, velvety treat.
- No baking needed—skip the oven and let the fridge do all the work while you relax.
- Endless flavor options—top it with fresh fruit, chocolate, or caramel to make it your own!
Recipe
Indulge in a creamy, decadent no-bake cheesecake that requires minimal effort and no oven. This classic dessert is perfect for any occasion and can be customized with your favorite toppings.
Ingredients:
- 1 1/2 cups graham cracker crumbs
- 1/4 cup granulated sugar
- 6 tablespoons unsalted butter, melted
- 16 oz cream cheese, softened
- 1/2 cup granulated sugar
- 1 teaspoon vanilla extract
- 1 cup heavy cream
Instructions:
- In a bowl, mix graham cracker crumbs, 1/4 cup sugar, and melted butter until evenly combined. Press the mixture firmly into the bottom of a 9-inch springform pan. Chill in the refrigerator for 15 minutes.
- In a large bowl, beat the cream cheese until smooth. Add 1/2 cup sugar and vanilla extract, mixing until well combined.
- In a separate bowl, whip the heavy cream until stiff peaks form. Gently fold the whipped cream into the cream cheese mixture until smooth.
- Spread the filling over the chilled crust, smoothing the top with a spatula. Cover and refrigerate for at least 4 hours or overnight to set.
- Before serving, release the cheesecake from the pan and add your favorite toppings, such as fresh fruit or chocolate drizzle.
Notes:
Ensure the cream cheese is fully softened to avoid lumps. For a firmer texture, refrigerate longer before serving.
Equipment:
9-inch springform pan, electric mixer, mixing bowls, spatula
Time:
Prep time: 20 minutes
Cooking time: None
Chilling time: 4 hours
Cuisine:
American
Serving:
8-10 slices
Nutrition
This no-bake cheesecake recipe provides a creamy and delicious dessert option. Below is the nutritional breakdown per serving.
Calories: 320
Total Fat: 22g
Saturated Fat: 12g
Cholesterol: 70mg
Sodium: 220mg
Total Carbohydrates: 26g
Dietary Fiber: 0g
Sugars: 18g
Protein: 5g
What To Serve With It
A no-bake cheesecake is already delicious on its own, but pairing it with fresh fruit slices like strawberries or kiwi adds a revitalizing contrast. If you’re feeling indulgent, a drizzle of melted chocolate or caramel takes it to the next level. I love experimenting with different toppings because they make each bite feel special.
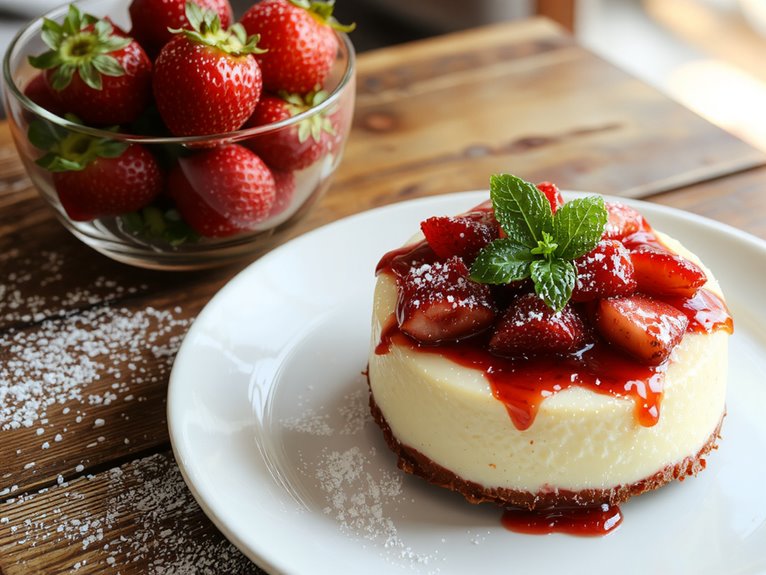
Fresh Fruit Slices
Fresh fruit slices are the perfect way to brighten up your no-bake cheesecake, adding color, freshness, and a little extra sweetness. I love using strawberries, kiwi, or blueberries because they’re vibrant and pair beautifully with the creamy texture. Sometimes, I’ll even layer thin slices of peaches or mango for a tropical twist. It’s an easy way to make your dessert look fancy without much effort. Plus, the natural juices from the fruit blend wonderfully with the cheesecake, creating a balanced bite. Don’t worry about sticking to just one fruit—mixing a few kinds can make your creation even more eye-catching and delicious.
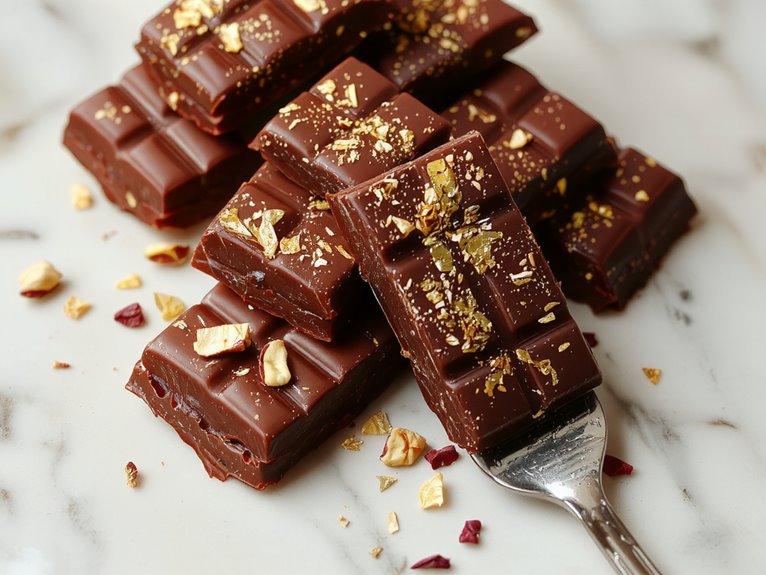
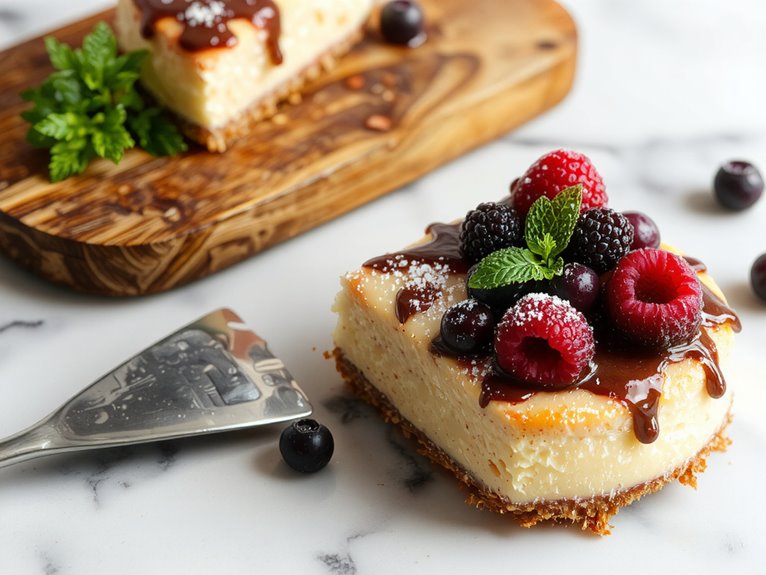
Chocolate Drizzle Options
If you’re looking to take your no-bake cheesecake to the next level, adding a chocolate drizzle is a game-changer—trust me, it’s worth it! I love using melted dark chocolate for a rich, slightly bitter flavor, but milk chocolate works if you prefer something sweeter. For a glossy finish, mix in a little coconut oil or cream before drizzling. White chocolate is another fun option, especially when paired with fresh berries. Pro tip: let the drizzle set slightly before serving so it doesn’t run everywhere. It’s an easy way to make your dessert look and taste amazing!